How to Color Press Logos in Photoshop
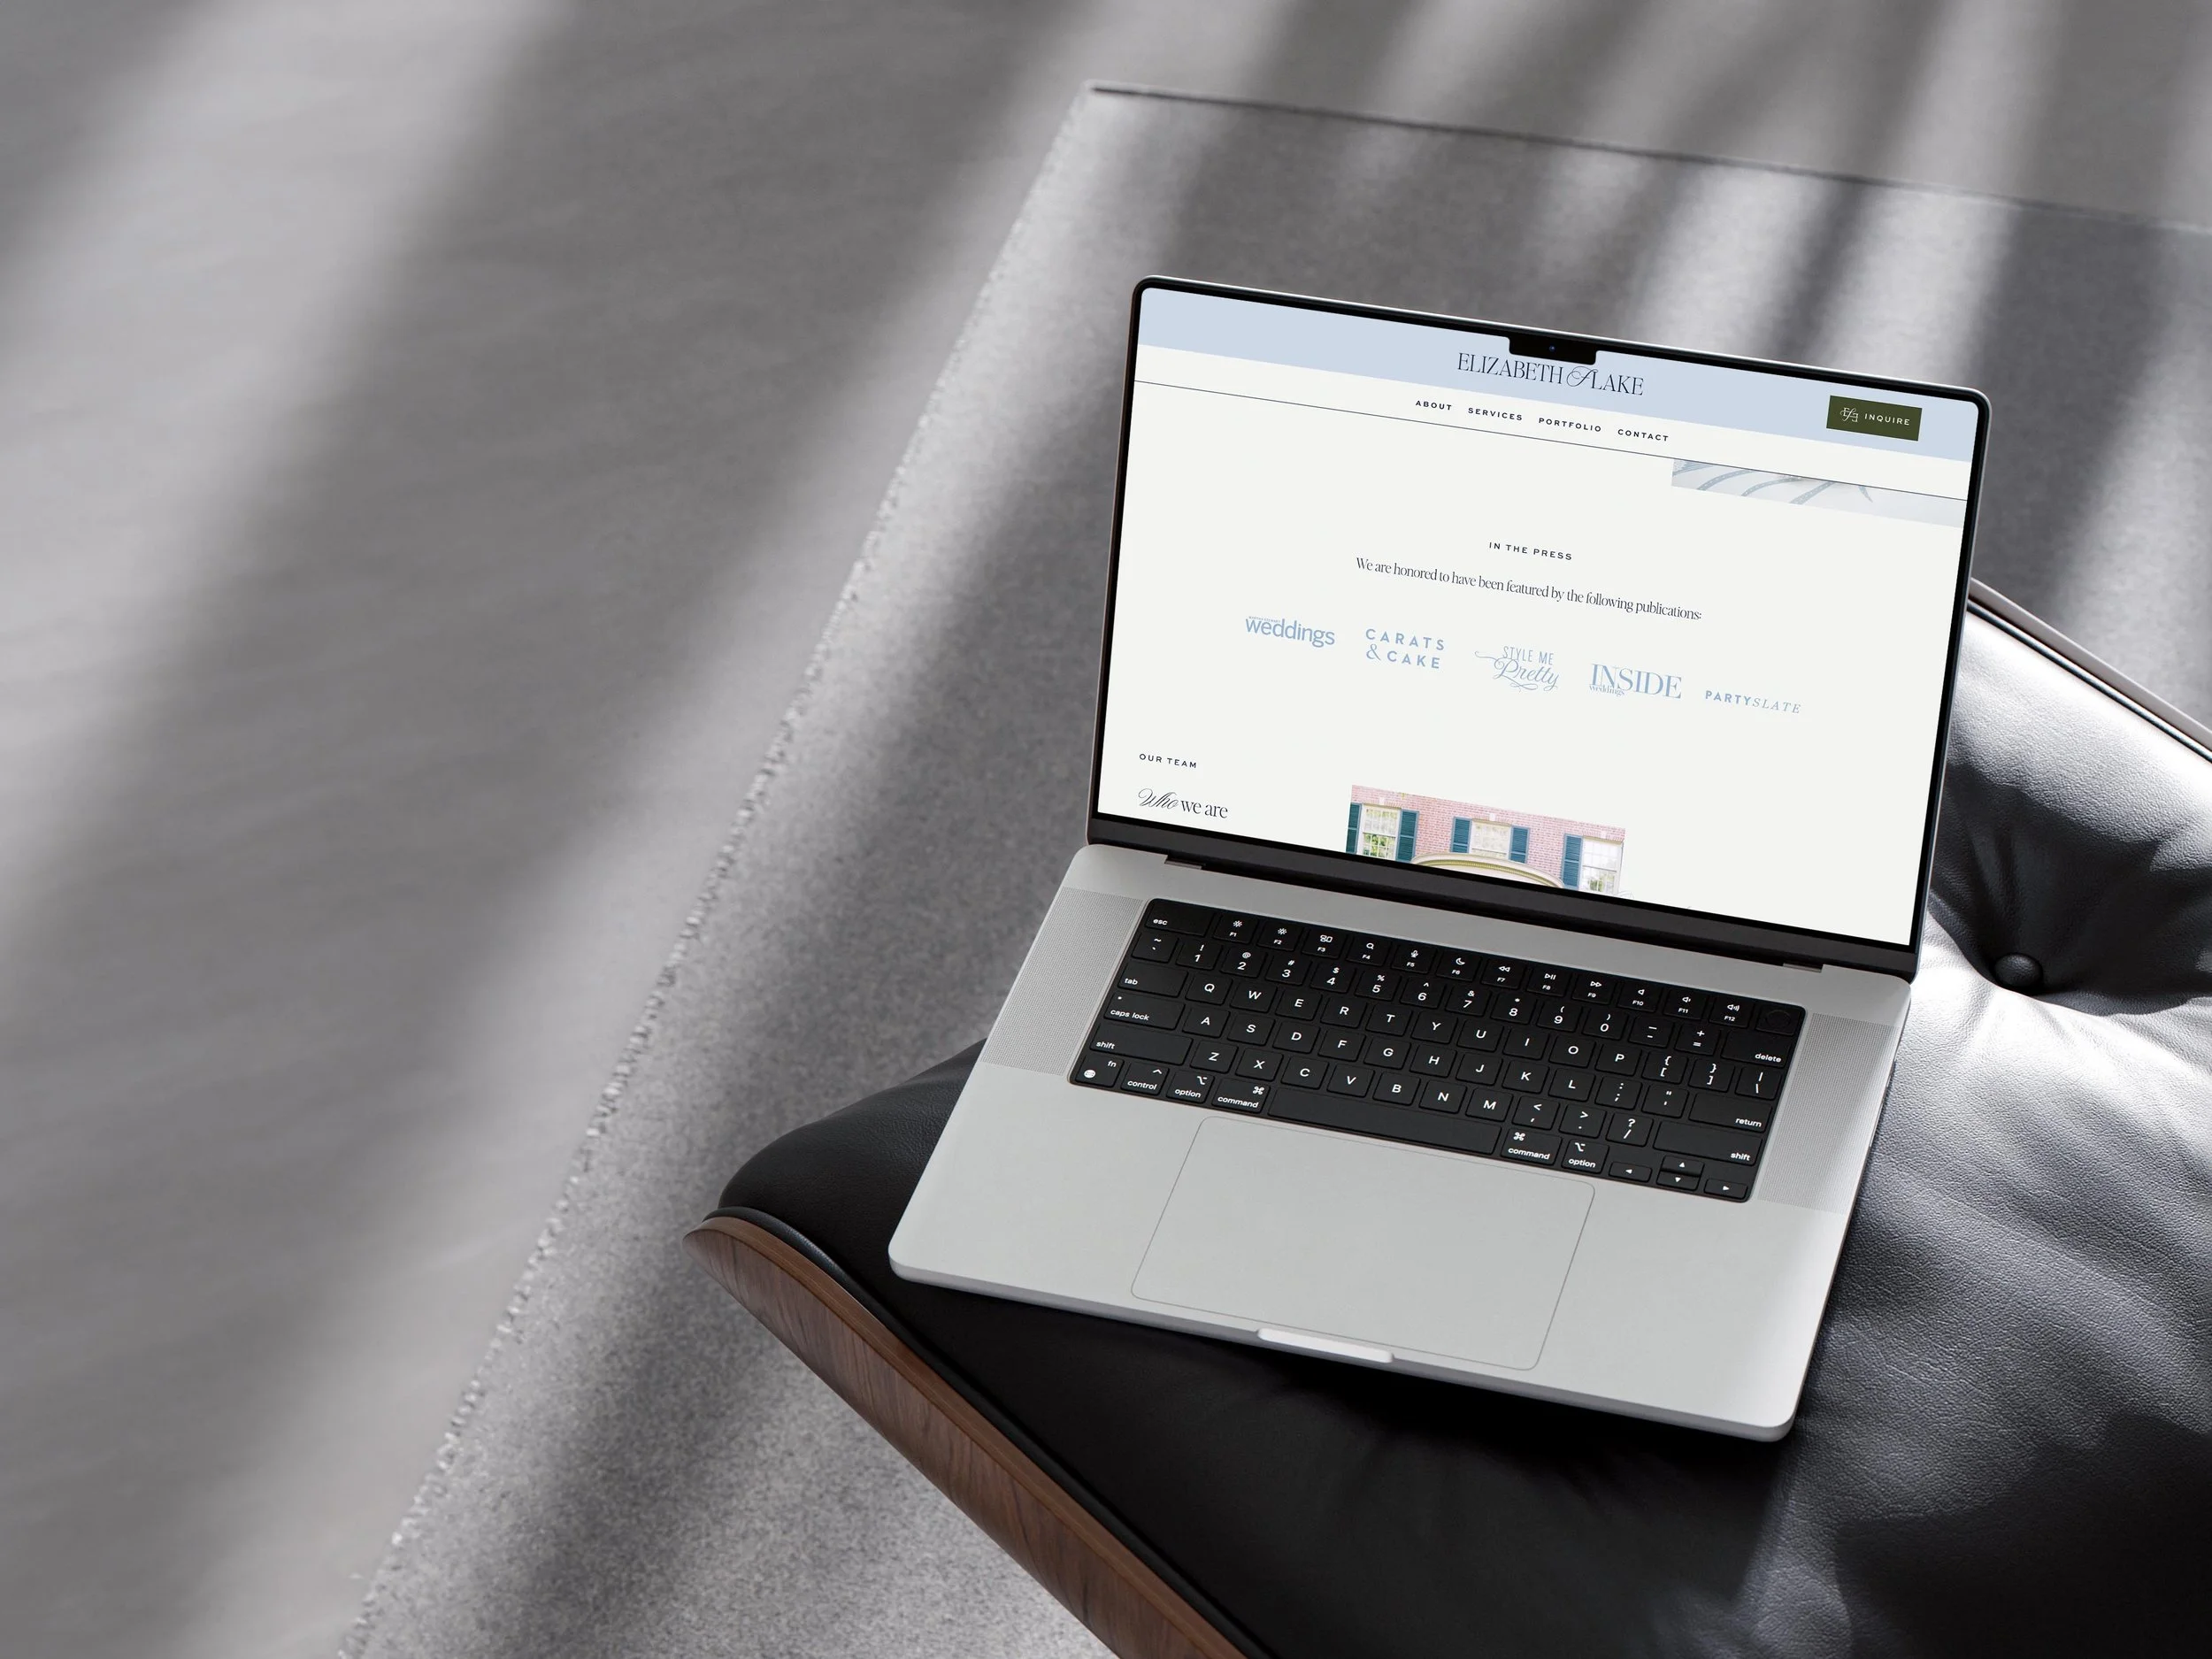
Want to showcase the publications you've been featured in, but want to keep the color palette of your brand? The way we do this for our clients is recoloring their logos in their brand colors in Photoshop.
Even if you've never opened Photoshop, I promise you can follow along in this super-simple tutorial. The key is finding a high-resolution logo file to begin with!
Step-by-Step
1. Download a hi-res photo
When you're looking, it's super helpful to use Google's tools to search for the largest image possible as well as an image with a transparent background. It will save you so much time later!
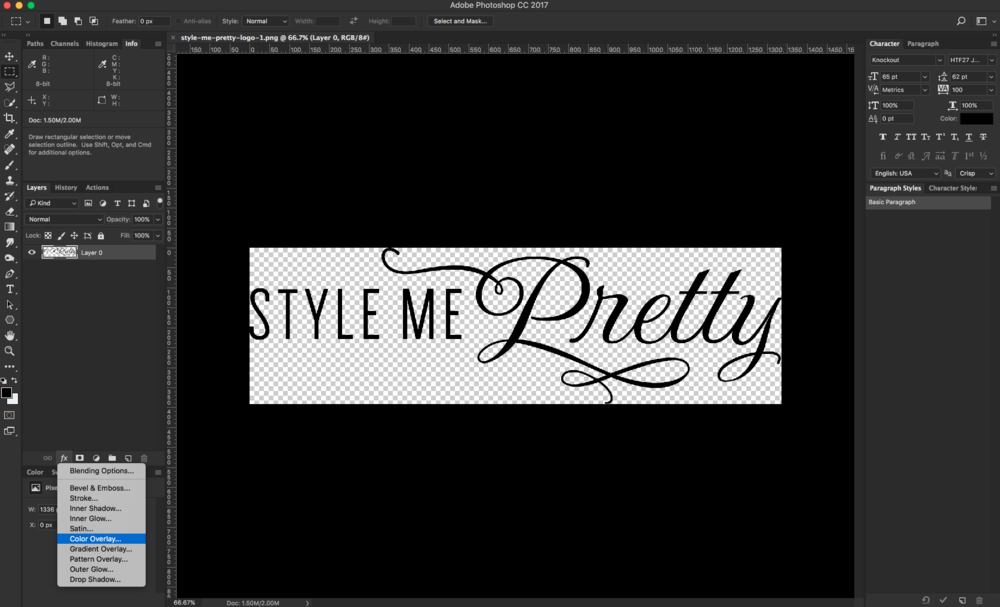
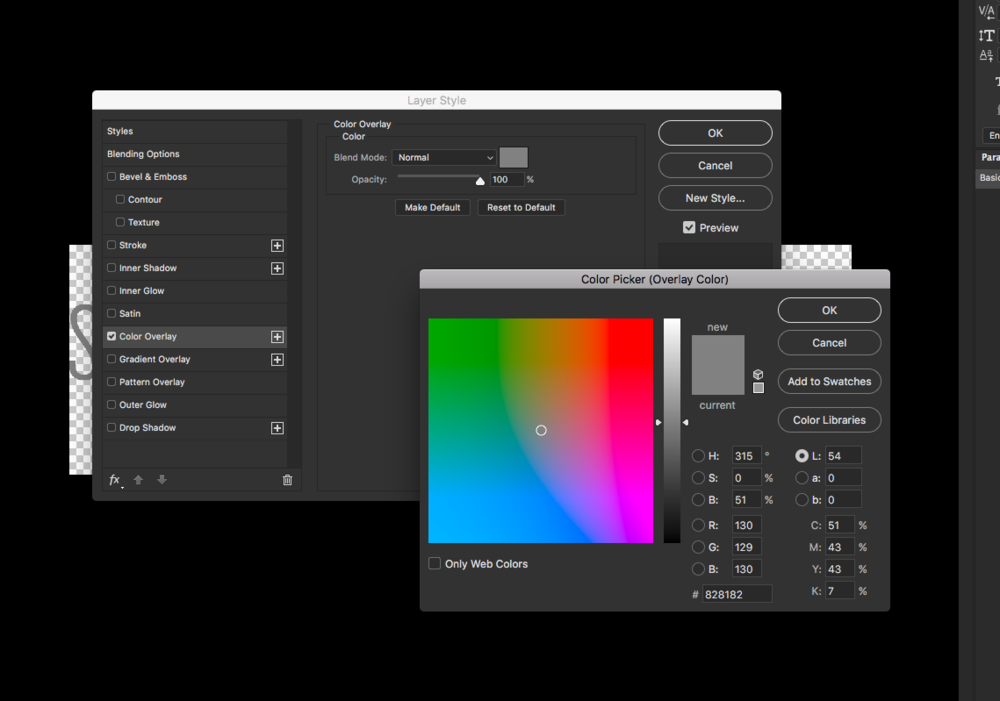
2. Add color overlay to the logo layer
In Photoshop, click below the layer to the "Fx" button to the "Color Overlay" dropdown and choose your branding color. It's really that easy!
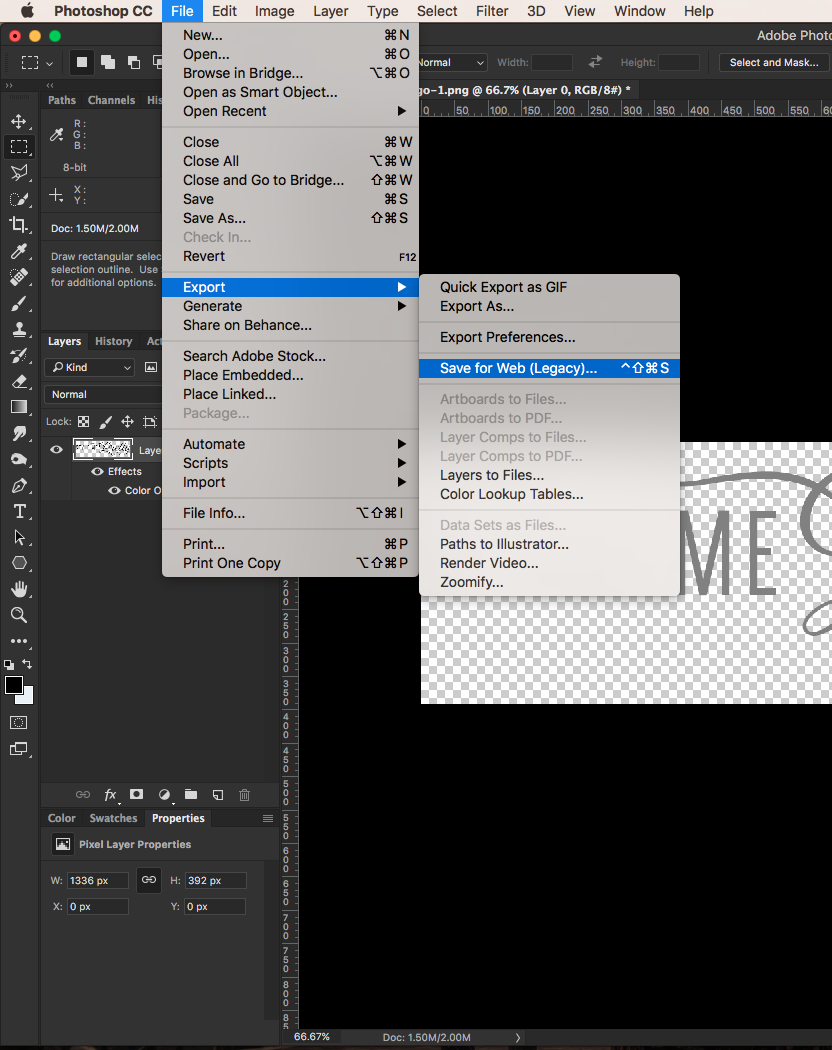
3. Save for Web
Go to File > Export > Save for Web (Legacy) and save in the file format you'd like. (Remember .png will save with a transparent background!) For Retina screens, make sure to save at 2x the width you'd like the image to be online, since they're higher resolution.